
USB to 4-20mA Generator
User's Manual
Overview
USB to 4-20mA Generator is a dedicated application for the following product:
- USB-034: USB to 4-20mA Converter
This application runs on Windows and supports Windows 11 and Windows 10. By sending control commands to the device via USB, the application can output current from the device.
The application provides the following main functions:
- Current output using 4-20mA current set values
- Current output using scaling settings
- Auto Step output
- Auto Sweep output
and more
Installation
The following example describes installation on Windows 11.
- Download "USB to 4-20mA Generator" from the product documentation page and run "Setup_USB_to_4-20mA_Generator_Ver*.*.exe".
- A User Account Control dialog will appear. Click [Yes].
- The installer window appears. Click [Next].

- Specify the destination folder and click [Next].
The default folder name is: "HuMANDATA¥USB to 4-20mA Generator"
If the destination folder is changed, the "Add default folder name" option becomes available.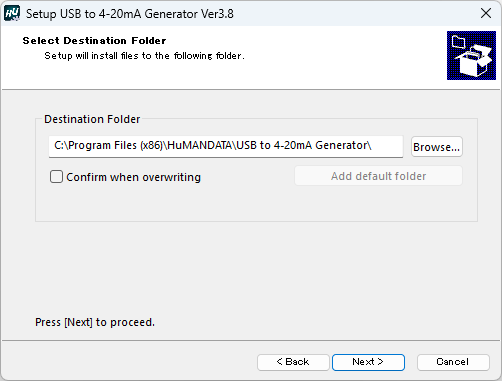
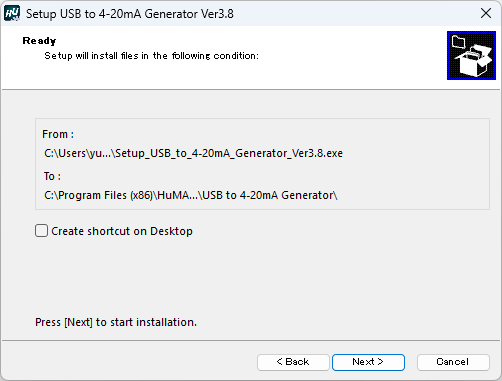
- The Ready to Install screen appears. Confirm the contents and click [Next]. If necessary, check "Create a shortcut on the desktop". (Disabled by default.)
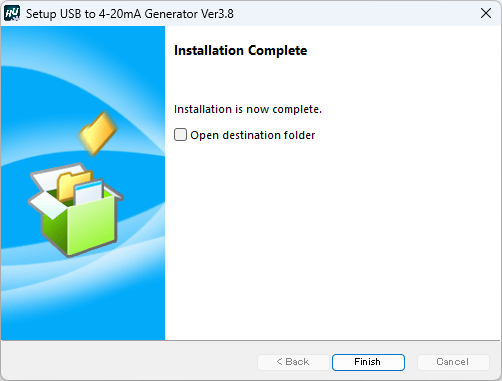
- The installation will begin. When the Installation Complete screen appears, click [Finish] to close the installation wizard.
Uninstallation
The following procedure describes uninstallation on Windows 11.
- Open Settings > Apps > Installed Apps. Select USB to 4-20mA Generator from the list and click [Uninstall] from the [...] menu.

- A User Account Control dialog appears. Click [Yes].
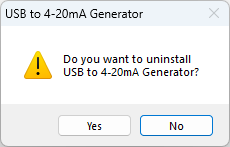
- A confirmation screen appears. Click [Yes] to proceed.
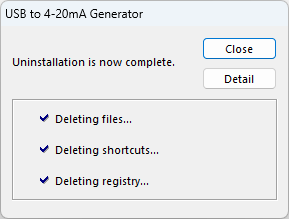
- When the Uninstallation Complete screen appears, click [Close].
The configuration file of this application is not automatically deleted during uninstallation so that it can be reused after reinstallation. If the configuration file is no longer needed, delete the following file manually:
C:\Users\(UserName)\AppData\Roaming\HuMANDATA\USB-034\USB-034.ini
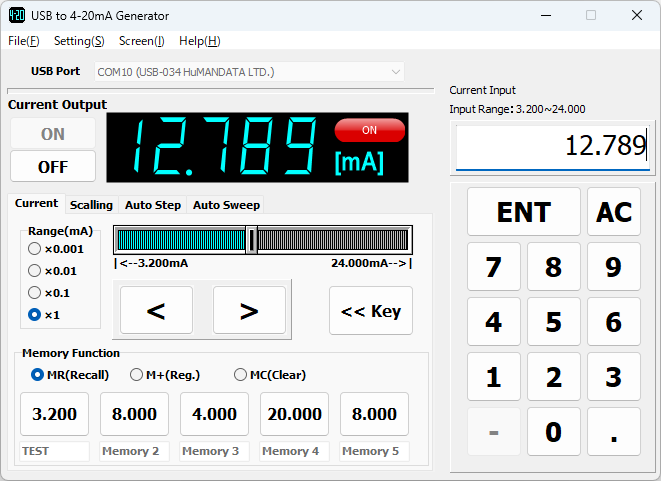
Operation
Common Screen

Displayed by clicking [File(F)] in the top menu.
| Item | Description |
|---|---|
| Save(S) | Saves the current settings to a configuration file. |
| Restore(R) | Loads a configuration file. |
| Exit(X) | Exits the application. |
| Item | Description |
|---|---|
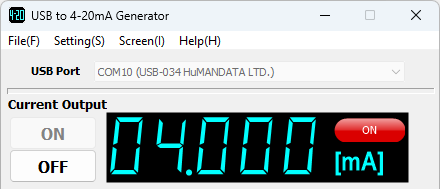
| USB Port | Select the port to which the USB-034 is connected from the drop-down menu. When selected, the Current Output [ON] button becomes active. |
| Current Output ON / OFF |
[ON] Button: Turns the loop power ON. The current displayed on the 7-segment display is output from the output connector. The value shown on the display can be set before enabling output [OFF] Button: Turns the loop power OFF |
Settings Screen
Displayed by clicking [Setting(S)] in the top menu.
| Item | Description |
|---|---|
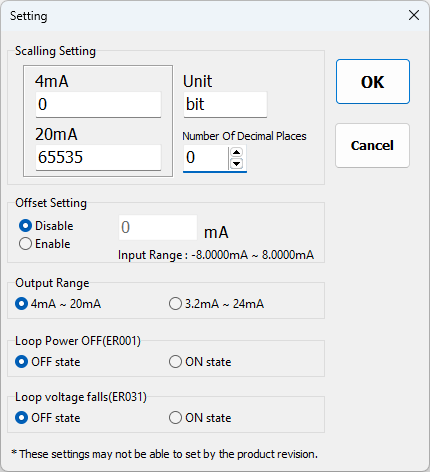
| Scaling Setting | Set the scaling range, unit, and number of decimal places. Negative values can also be entered. Maximum digits for scaling value: 9 digits Maximum unit length: 5 characters (including one full-width character) |
| Offset Setting | Sets the offset for current output. When enabled, the specified offset value is added to the output current. |
| Output Range | Select the output range. Wide range (3.2–24mA) is supported from Rev2. |
| Loop Power OFF (ER001) | Configure whether to turn current output OFF when this error occurs. |
| Loop Voltage Drop (ER031) | Configure whether to turn current output OFF when this error occurs. |
Depending on the product revision, some settings may not be available. Output range selection and error settings are supported in Rev2 or later.
Current Screen

| Item | Description |
|---|---|
| Range(mA) x0.001 / x0.01 / x0.1 / x1 |
sets the increment step for the slider and buttons |
| Slider | Move the slider left or right while holding the left mouse button to set the output current value. The value is output when the mouse button is released. |
| < / > | Decreases / increases the output current value |
| Numeric Input | Shows or hides the numeric keypad screen |
| MR (Recall) | Outputs the stored current value |
| M+ (Register) | Registers the current value shown on the display7. Up to five values can be stored. Each value can be assigned a name with up to 8 alphanumeric characters. |
| MC (Clear) | Clears stored values |
Scaling Screen
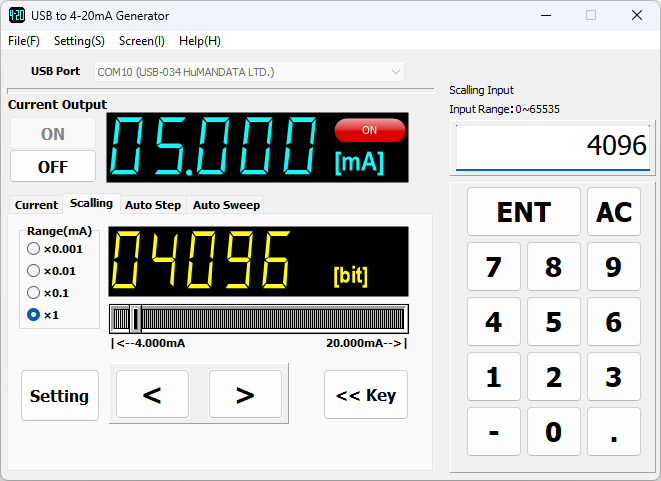
| Item | Description |
|---|---|
| Settings | Opens the settings dialog. Refer to 4.2.Settings Screen. |
Auto Step Screen
Automatically outputs current in step increments based on the specified step value and hold time.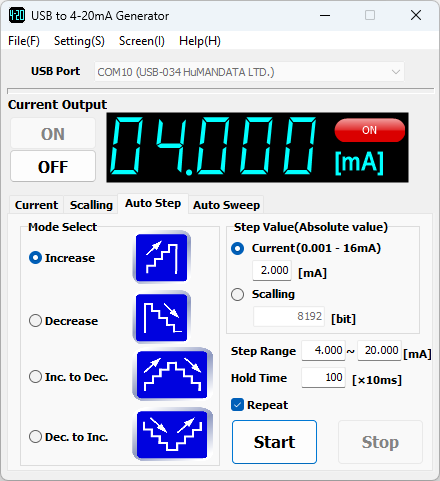
| Item | Description |
|---|---|
| Mode Select | Increase / Decrease / Increase-Decrease / Decrease-Increase |
| Step Value (Absolute Value) | Select current or scaling and enter the step value |
| Step Range | Enter the output range for auto step in current values |
| Hold Time [x10 ms] | Enter hold time (range: 1 – 60000) |
| Repeat | Repeats the auto step sequence |
| Start | Starts auto step |
| Stop | Stops auto step |
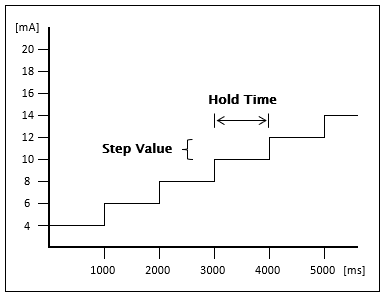
Example;
Mode: Increase, Step: 2 mA, Hold Time: 1000 ms
Auto Sweep Screen
Automatically outputs current continuously between a start and end value.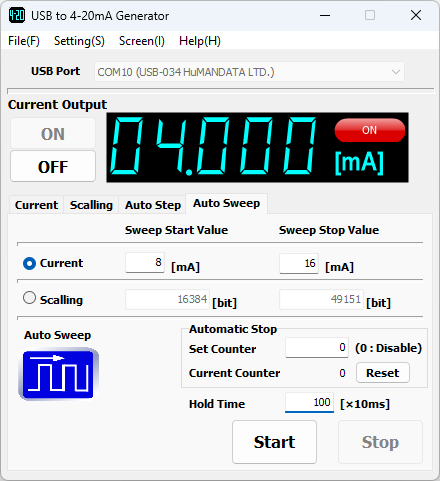
| Item | Description | |
|---|---|---|
| Sweep Start Value / Sweep Stop Value |
Select current or scaling and enter start and end values | |
| Automatic Stop | Set Counter | Automatically stops when the specified number of cycles is reached Setting Range: 0 to 999999999 (0 disables auto stop) |
| Current Counter | Displays the current cycle count | |
| Hold Time [×10ms] | Input range: 1 – 60000 | |
| Start | Starts auto sweep | |
| Stop | Stops auto sweep | |

Example;
Start Value: 8 mA, End Value: 16 mA, Hold Time: 1000 ms
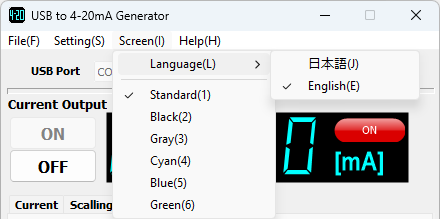
Display
Click [Screen(I)] in the top menu to configure:
Language switching (Japanese / English)
Screen display color
Help
Click [Help(H)] in the top menu to display:
- A link to this manual
- Version information
Configuration File
The configuration file is automatically saved when the application is closed.
It will be loaded automatically the next time the application is started.
C:\Users\(UserName)\AppData\Roaming\HuMANDATA\USB-034\USB-034.ini
The configuration file is not deleted during uninstallation so that settings can be reused.
To load the setting on another PC, delete it manually if it is no longer required.
Select "File(F) > Save(S)" and save the configuration file.
On another PC, select "File(F) > Restore(R)" and load the saved configuration file.
Reference Materials
Updated documentation and additional reference materials will be published on each product page as needed.
You may also find useful information on the following support page:
Revision History
| Date | Version | Description |
|---|---|---|
| 2026/04/28 | 1.0 | Initial release |